Are you tired of being jolted awake by the thunderous noise of your toilet flushing in the middle of the night? Or perhaps you’ve noticed that your once serene bathroom has become a cacophony of clattering sounds every time you press that flush lever. Fear not, plumbingrepairtips.com have the solution to your auditory woes – Quiet flush toilet repair!
Introduction
Maintaining a quiet flush toilet is crucial for a peaceful and harmonious bathroom experience. We all deserve a tranquil sanctuary where we can escape the chaos of everyday life, and a noisy toilet certainly doesn’t contribute to that. But what exactly causes these disruptive sounds, and how can we resolve them?
Common Issues with Quiet Flush Toilets
Quiet flush toilets, while designed to minimize noise, can still encounter a range of problems that compromise their peaceful operation. One of the most common issues is a leaky flush valve, which not only creates an irritating hissing sound but can also wastewater. Another culprit is an improperly adjusted fill valve, resulting in an incessant dripping noise or an inadequate flush. Clogs and blockages can also contribute to a noisy toilet, causing gurgling or bubbling sounds.
It’s important to address these issues promptly to restore the tranquility of your bathroom and prevent any further damage. The good news is that you don’t have to be a plumbing expert to tackle these repairs. With a little guidance and the right tools, you can easily silence your noisy toilet and reclaim your peaceful oasis.
In the upcoming sections, I will guide you through the step-by-step process of quiet flush toilet repair, covering a range of common issues and providing you with the necessary know-how to resolve them efficiently. So, let’s delve into the world of toilet repairs and bid farewell to the disruptive noises that have invaded our bathrooms!
Understanding the Components of a Quiet Flush Toilet
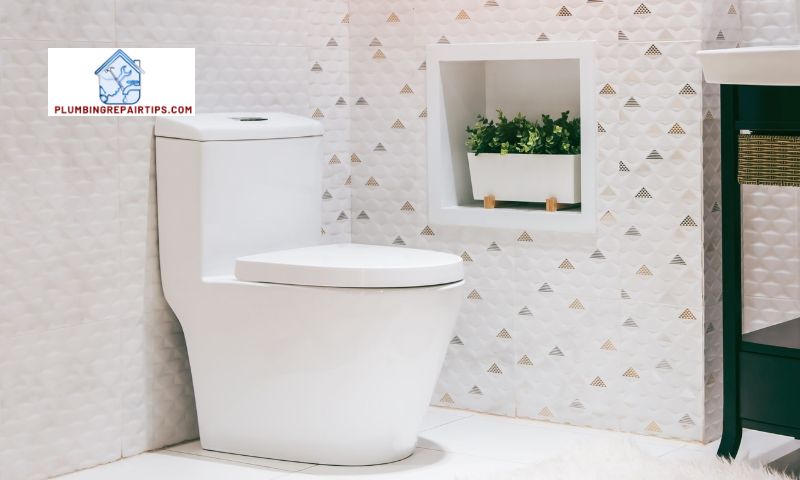
When it comes to quiet flush toilet repair, it’s essential to have a basic understanding of the various components that make up a quiet flush toilet system. Each part plays a crucial role in minimizing noise and ensuring a smooth flushing experience. Let’s take a closer look at these components and how they contribute to the overall noise reduction.
Explaining the Parts Involved in a Quiet Flush Toilet System
- Flush Valve: The flush valve is responsible for releasing a large volume of water from the tank into the bowl during a flush. In a quiet flush toilet, the flush valve is designed to operate smoothly and silently, avoiding any loud whooshing or gushing sounds commonly associated with traditional toilets.
- Fill Valve: The fill valve, also known as the ballcock, is responsible for refilling the tank with water after a flush. In a quiet flush toilet, the fill valve is designed to operate silently, eliminating any annoying hissing or dripping sounds that can occur during the refill process.
- Flapper: The flapper is a rubber seal that sits at the bottom of the tank and controls the flow of water into the bowl during a flush. A properly functioning flapper ensures a quiet and efficient flush, preventing any water leaks or unnecessary noise.
- Seals and Gaskets: Various seals and gaskets are present in a quiet flush toilet to ensure a watertight and noiseless operation. These seals and gaskets prevent water from leaking out of the tank or bowl, minimizing any potential noise caused by water seepage.
How Each Component Contributes to the Overall Noise Reduction
In a well-maintained quiet flush toilet, each component works together seamlessly to provide a whisper-quiet flushing experience. The flush valve and fill valve operate silently, eliminating any loud disturbances while flushing or refilling the tank. The flapper ensures a controlled flow of water into the bowl, preventing any sudden or noisy rushes of water. Additionally, the presence of high-quality seals and gaskets ensures that water remains contained within the proper channels, minimizing any potential noise caused by leaks or drips.
Understanding these components and their role in noise reduction is crucial for effective quiet flush toilet repair. In the next section, we will explore common problems that may arise with these components and provide step-by-step solutions to address them effectively. So, let’s dive into the world of troubleshooting and repair to restore the tranquility of your bathroom!
Identifying Common Problems with Quiet Flush Toilets
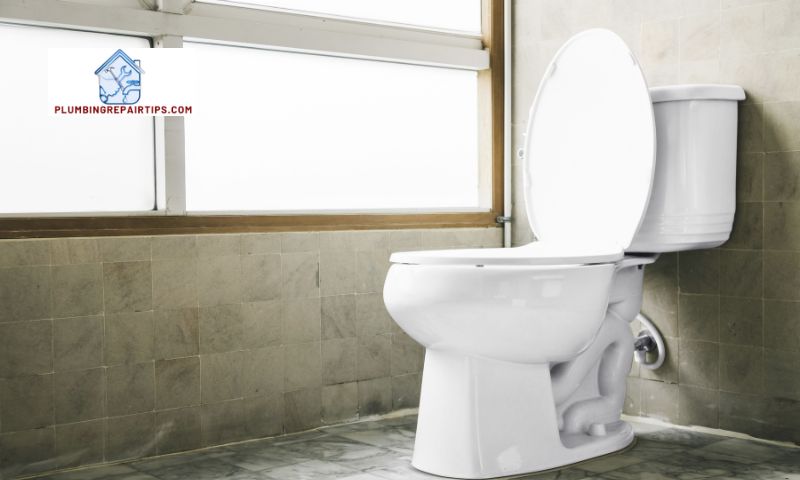
Quiet flush toilets, like any other plumbing fixture, can experience a range of issues that disrupt their peaceful operation. Let’s explore some of the common problems that may arise with these toilets and discuss effective troubleshooting techniques to identify the root cause of the problem.
1. Leaky Flush Valve
A leaky flush valve is one of the most prevalent issues in quiet flush toilets. This problem not only results in an annoying hissing sound but can also lead to water wastage. To determine if you have a leaky flush valve, simply listen for a continuous hissing noise after you’ve flushed the toilet. If the sound persists, it’s a clear indication of a leak.
2. Improperly Adjusted Fill Valve
An improperly adjusted fill valve can cause a variety of disruptive sounds in your quiet flush toilet. If you hear a constant dripping noise or notice that the toilet tank doesn’t refill to its optimal level, it’s likely that the fill valve needs adjustment. This issue can affect the flush performance and overall quietness of the toilet.
3. Clogs and Blockages
Clogs and blockages are another common culprit behind noisy flush toilets. When waste or foreign objects obstruct the flow of water through the pipes, it can create gurgling or bubbling sounds during flushing. If you experience slow or incomplete flushes, accompanied by unusual sounds, it’s time to investigate the possibility of a clog.
4. Faulty Seals or Gaskets
Faulty seals or gaskets can also contribute to noise issues in quiet flush toilets. Over time, these components may deteriorate, causing leaks and disruptive sounds. If you notice water pooling around the base of the toilet or detect a faint dripping sound, inspect the seals and gaskets for signs of wear or damage.
By familiarizing yourself with these common problems and their associated sounds, you can begin troubleshooting your quiet flush toilet effectively. In the next section, we’ll walk through a step-by-step guide for repairing these issues, empowering you to restore peace and quiet to your bathroom.
Step-by-Step Guide for Quiet Flush Toilet Repair

Is your once-peaceful bathroom now a symphony of unwanted noises? Fear not, for I will guide you through a comprehensive step-by-step process to restore the serenity of your quiet flush toilet. Let’s dive into the world of repairs and bid farewell to those disruptive sounds!
A. Fixing a Leaky Flush Valve
A leaky flush valve not only creates an annoying hissing sound but also wastes water. To fix this issue, follow these steps:
- Turn off the water supply to the toilet.
- Flush the toilet to drain the tank completely.
- Locate the flush valve at the bottom of the tank.
- Inspect the valve for any cracks or damage.
- If the valve is damaged, remove it by unscrewing or detaching it from the overflow tube.
- Replace the old valve with a new one, ensuring a tight and secure fit.
- Turn on the water supply and test the toilet for leaks.
B. Adjusting the Fill Valve
An improperly adjusted fill valve can result in a constant dripping noise or a weak flush. Follow these simple steps to adjust the fill valve:
- Locate the fill valve, usually found on the left side of the toilet tank.
- Turn off the water supply to the toilet.
- Flush the toilet to drain the tank partially.
- Adjust the height of the fill valve by turning the adjustment screw or sliding the float cup up or down.
- Ensure the water level is around 1 inch below the overflow tube.
- Turn on the water supply and monitor the fill valve to ensure it stops filling at the correct level.
C. Eliminating Clogs and Blockages
Clogs and blockages can cause gurgling or bubbling sounds in your toilet. To tackle these obstructions, follow these steps:
- Use a plunger to try and dislodge the clog.
- If the plunger doesn’t work, try using a toilet auger or snake.
- Insert the auger into the toilet bowl and rotate the handle to break up the clog.
- Slowly pull out the auger, removing any debris that comes with it.
- Flush the toilet to ensure the clog is completely cleared.
D. Replacing Faulty Seals or Gaskets
Faulty seals or gaskets can lead to leaks and unwanted noises. Here’s how you can replace them:
- Turn off the water supply to the toilet.
- Flush the toilet to drain the tank.
- Identify the faulty seal or gasket, such as the wax ring or tank-to-bowl gasket.
- Remove the old seal or gasket carefully.
- Install the new seal or gasket, following the manufacturer’s instructions.
- Turn on the water supply and check for any leaks.
E. Dealing with a Noisy Flapper
A noisy flapper can create a rattling or vibrating sound. Follow these steps to address the issue:
- Turn off the water supply to the toilet.
- Remove the toilet tank lid and locate the flapper.
- Inspect the flapper for any cracks, mineral buildup, or damage.
- If the flapper is damaged, replace it with a new one.
- Ensure the new flapper fits properly and creates a good seal.
- Turn on the water supply and test the toilet for any noise.
F. Resolving Water Supply Issues
If your toilet’s water supply is causing noise, follow these steps to resolve the problem:
- Check the water supply line for any kinks, leaks, or obstructions.
- Straighten any kinks in the supply line.
- Tighten any loose connections or replace any damaged parts.
- Ensure the water supply is fully open and provides adequate pressure.
- Test the toilet to confirm that the water supply issue has been resolved.
By following these step-by-step instructions, you’ll be able to address common issues with your quiet flush toilet and restore the tranquility of your bathroom. Say goodbye to disruptive noises and hello to a peaceful oasis!
Conclusion
In conclusion, maintaining a quiet flush toilet is essential for a peaceful and enjoyable bathroom experience. By addressing common issues and performing regular maintenance, you can ensure that your toilet remains a serene sanctuary rather than a source of disruptive noise.
Throughout this article, we have explored the importance of maintaining a quiet flush toilet and discussed common problems that may arise. We have also provided you with step-by-step repair instructions for various issues, empowering you to tackle these repairs yourself.
Remember, regular maintenance is key to preventing future problems. By incorporating cleaning and inspection routines into your bathroom maintenance regimen, you can identify and address any potential issues before they escalate. This proactive approach will save you time, money, and the frustration of dealing with a noisy toilet.
So, don’t let the sounds of a malfunctioning toilet disturb your peace any longer. Take action today and repair your quiet flush toilet to restore tranquility to your bathroom. With the knowledge and tips shared in this article, you have the power to transform your bathroom into an oasis of serenity.
Now, armed with the tools and knowledge to repair and maintain your quiet flush toilet, you can confidently bid farewell to the disruptive noises that once plagued your bathroom. Embrace the silence and enjoy a peaceful and harmonious bathroom experience like never before.
