Introduction
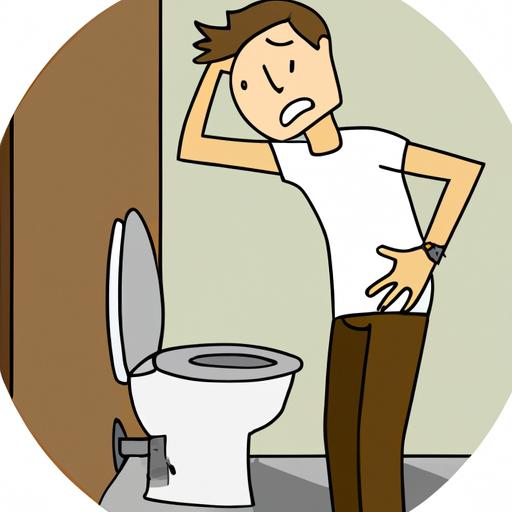
Are you tired of that annoying wobble every time you sit on your toilet? Or maybe you’ve noticed water seeping around the base, causing damage to your bathroom floor. If you’re experiencing these issues, it’s time to give your toilet a firm foundation by reseating it properly. In this article, plumbingrepairtips.com will guide you through the process of reseating a toilet, ensuring that it stays securely in place.
Importance of Reseating a Toilet
A well-seated toilet is crucial for a comfortable and functional bathroom experience. Over time, the bolts securing your toilet to the floor can become loose, leading to an unstable fixture. This instability not only causes an annoying wobble but can also result in leaks and potential water damage. By reseating your toilet, you restore its stability, improving your overall bathroom safety and preventing costly repairs in the future.
Benefits of Reseating a Toilet Properly
Reseating a toilet properly offers numerous advantages beyond just eliminating the wobble. Firstly, it ensures a watertight seal between the toilet and the floor, preventing any leakage that could lead to mold or damage. Additionally, a well-seated toilet reduces the risk of cracks and chips in the porcelain, prolonging the lifespan of your fixture. Moreover, it enhances the overall aesthetics of your bathroom, providing a seamless and polished look.
So, if you’re ready to bid farewell to the wobble and potential water damage, join me in the next section as we explore the signs that indicate the need for reseating and the common issues caused by a loose toilet. Together, we’ll ensure your toilet stands firm, providing you with a sturdy foundation to start your day right. Stay tuned for Understanding the Need for Reseating.
Understanding the Need for Reseating
Signs that Indicate the Need for Reseating
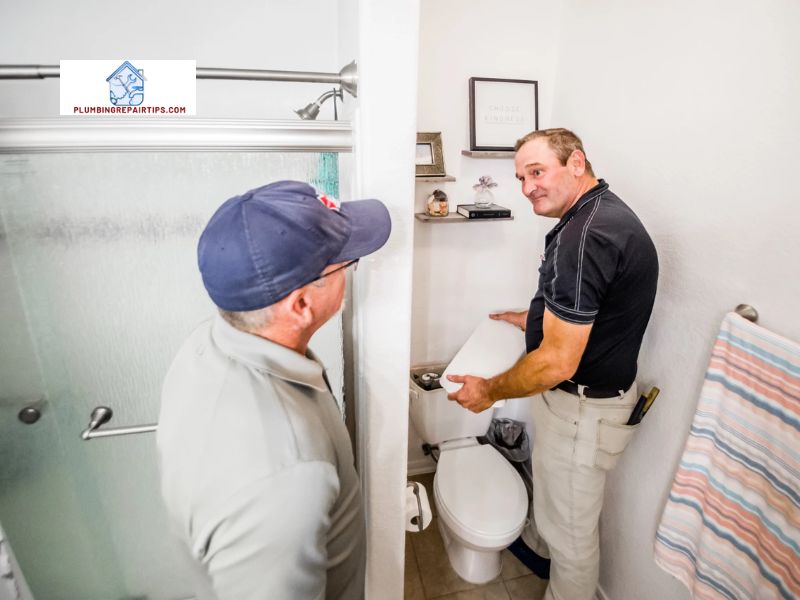
Is your toilet wobbling when you sit on it? This is one of the most obvious signs that your toilet needs to be reseated. A loose toilet can be a nuisance, making you feel unsteady and insecure. But that’s not the only indication. Look out for these telltale signs that it’s time to roll up your sleeves and get to work:
- Water Leaks: Notice any water seeping around the base of your toilet? This is a clear sign that the wax ring, which provides a watertight seal between the toilet and the flange, may be compromised. Reseating the toilet will help you fix the issue and prevent further water damage to your bathroom floor.
- Rocking or Wobbling: A toilet that moves or feels unstable when you sit on it is a sure sign of an underlying problem. Loose bolts and a deteriorated wax ring are common culprits for this issue. Reseating the toilet will ensure its stability, providing a secure and comfortable experience.
Common Issues Caused by a Loose Toilet
Ignoring a loose toilet can lead to a host of problems that extend beyond mere inconvenience. Here are some common issues that can arise from a poorly seated toilet:
- Leakage and Water Damage: A loose toilet can cause water to seep out, leading to damage to your bathroom floor and potentially even the ceiling below. This can result in costly repairs and mold growth, affecting both your health and your wallet.
- Cracks and Damage: A wobbly toilet puts stress on the porcelain, increasing the likelihood of cracks and chips. Not only does this detract from the aesthetics of your bathroom, but it can also compromise the structural integrity of the toilet over time.
- Unpleasant Odors: A loose toilet can create gaps between the toilet and the flange, allowing sewer gases to escape into your bathroom. This can lead to unpleasant odors, making your bathroom far from the serene sanctuary it should be.
By addressing these issues through reseating, you can prevent further damage and ensure a sturdy foundation for your toilet. In the next section, we’ll discuss the essential tools and materials you’ll need to successfully complete the reseating process. Join me in Tools and Materials Required.
Tools and Materials Required

When it comes to reseating a toilet, having the right tools and materials is essential for a successful job. Let’s take a look at the items you’ll need to ensure a smooth and efficient process.
List of Tools Needed for Reseating a Toilet
- Adjustable wrench: This versatile tool will help you loosen and tighten bolts during the reseating process.
- Screwdriver: You’ll need a screwdriver to remove any screws or caps that hold the toilet in place.
- Putty knife: A putty knife will come in handy for scraping off the old wax ring and cleaning the flange.
- Plunger: It’s always wise to have a plunger on hand in case you encounter any blockages while disconnecting the toilet.
- Level: To ensure your toilet is reseated properly, a level will help you determine if it’s sitting evenly on the floor.
- Bucket or container: Place a bucket or container nearby to catch any water that may spill during the process.
Necessary Materials for the Job
- Wax ring: The wax ring provides a watertight seal between the toilet and the floor. Make sure to choose a high-quality wax ring for long-lasting results.
- Toilet bolts and nuts: If your existing bolts are worn or damaged, it’s recommended to replace them with new ones for a secure installation.
- Rubber gloves: To protect your hands from any dirt or germs, wearing rubber gloves is a good practice during the reseating process.
- Cleaning solution: Use a mild cleaning solution or vinegar to thoroughly clean the flange and surrounding area before reseating the toilet.
- Rags or towels: Keep some rags or towels handy to wipe up any spills or clean the toilet before reseating it.
Now that we have the necessary tools and materials ready, it’s time to move on to Step-by-Step Guide to Reseating a Toilet. In the next section, I’ll walk you through the preparation and removal process, ensuring a smooth transition for your toilet. Let’s get started!
Additional Tips and Precautions
When it comes to reseating a toilet, it’s important to prioritize safety and be prepared for any potential challenges that may arise. Here are some additional tips and precautions to keep in mind throughout the process.
Safety Measures During the Reseating Process
- Protective Gear: Before starting the reseating process, ensure you have the necessary protective gear, such as gloves and safety glasses, to safeguard yourself from any potential harm.
- Proper Lifting Techniques: To prevent strain or injury, remember to lift heavy objects, such as the toilet bowl, with your legs and not your back. Enlist the help of a friend or family member if needed.
- Secure Work Area: Create a safe work environment by removing any obstacles or tripping hazards from the bathroom floor. This will prevent accidents and ensure you have ample space to maneuver.
Troubleshooting Common Problems
- Uneven Floor: If you have an uneven bathroom floor, you may encounter difficulties in achieving a level toilet installation. In such cases, consider using shims to bridge the gaps and create a stable base.
- Leaking Issues: If you notice leaks after reseating the toilet, it could be due to a faulty wax ring or loose connections. Double-check the wax ring installation and ensure all connections are tight and secure.
- Persistent Wobbling: If your toilet continues to wobble even after reseating, it could be an indication of a damaged flange. In such instances, it’s advisable to seek professional assistance to address the underlying issue.
By following these additional tips and taking necessary precautions, you can ensure a smooth and successful reseating process while maintaining your personal safety. Now that you’re equipped with these valuable insights, let’s move on to Conclusion, where we’ll summarize the importance of reseating a toilet and the benefits it brings to your bathroom.
Conclusion
Congratulations! You’ve successfully learned how to reseat a toilet and ensure a sturdy foundation for your bathroom. By following the step-by-step guide provided in this article, you’ve taken a proactive approach to address the issues caused by a loose toilet.
Reseating a toilet is not only about eliminating the annoying wobble or preventing water damage; it’s about creating a comfortable and safe space for your everyday needs. A well-seated toilet enhances the overall functionality and aesthetics of your bathroom, providing you with peace of mind.
Remember, a properly reseated toilet starts with preparation, followed by careful removal, inspection, and cleaning. Replacing the wax ring and reseating the toilet securely are crucial steps to achieve a stable fixture. Finally, reconnecting the water supply line and checking for leaks ensures a watertight seal.
So, whether you’re a DIY enthusiast or simply want to save some money on plumbing repairs, reseating a toilet is a task you can tackle confidently. Take pride in your newfound skills and enjoy the benefits of a sturdy and reliable toilet.
For more plumbing repair tips and tricks, visit plumbingrepairtips.com. Our website is a comprehensive resource for all your plumbing needs, providing expert advice and step-by-step guides to help you maintain a functional and efficient home.
Thank you for joining me on this reseating journey. Here’s to a stable and wobble-free toilet that will serve you well for years to come!
