Introduction
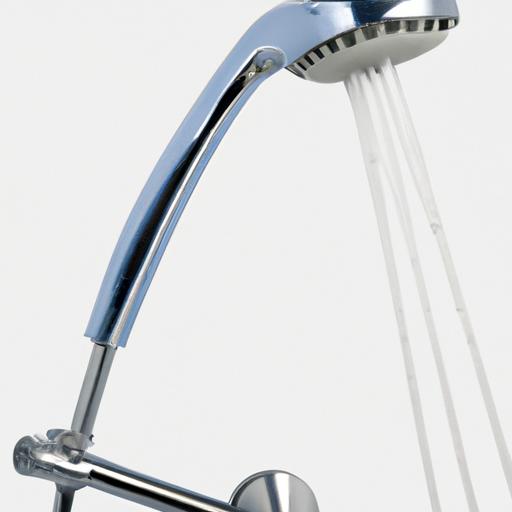
Are you tired of struggling with a broken shower handle? You’re not alone. A malfunctioning shower handle can turn your daily routine into a frustrating experience. But fear not, because plumbingrepairtips.com is here to guide you through the process of fixing that stubborn shower handle and restoring the serenity to your showering experience.
What is a broken shower handle?
A broken shower handle refers to a faulty or dysfunctional component that controls the water flow and temperature in your shower. It can manifest in various ways, such as difficulty turning the handle, a loose or wobbly grip, or even water leakage from the handle area. These issues not only disrupt your showering routine but can also potentially waste water and increase your utility bills.
Importance of fixing a broken shower handle
Fixing a broken shower handle may seem like a minor inconvenience, but neglecting the issue can lead to more significant problems down the line. Ignoring a broken handle can result in water wastage, increased utility costs, and even potential water damage to your bathroom. By addressing the problem promptly, you not only save money but also ensure a safe and efficient showering experience for you and your family.
Common causes of a broken shower handle
Understanding the root causes of a broken shower handle can help you prevent future mishaps. Some common culprits include wear and tear over time, loose screws or connections, and damaged or worn-out internal parts. Other factors like excessive force or rough handling can also contribute to handle damage. By identifying these causes, you can take proactive measures to prevent future breakages and extend the lifespan of your shower handle.
So, let’s dive into the world of broken shower handles and equip ourselves with the knowledge to fix this nuisance once and for all. Stay tuned for the following sections, where I’ll walk you through the signs of a broken shower handle, possible DIY solutions, tools you’ll need, situations that require professional help, tips on maintenance, and more!
Remember, a broken shower handle doesn’t have to dampen your spirits. With the right information and a little elbow grease, we can transform your showering experience into something extraordinary. So, let’s get started on this journey to restore your shower’s functionality and your peace of mind.
Stay tuned for the next section, where we’ll explore the signs that indicate a broken shower handle.
Signs of a Broken Shower Handle
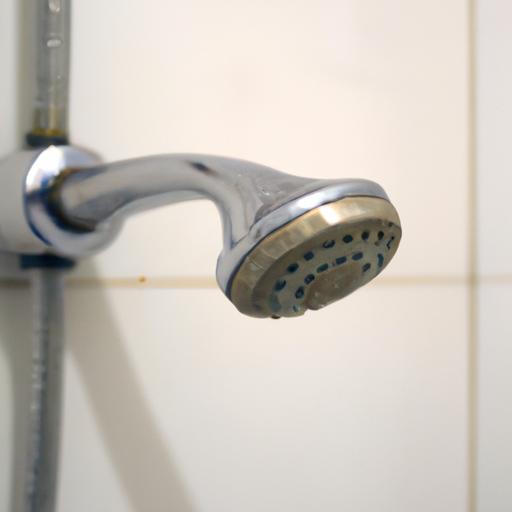
Is your shower handle giving you a hard time? Identifying the signs of a broken shower handle is the first step towards resolving the issue. Let’s take a closer look at the telltale indicators that your shower handle may be on the fritz.
Difficulty in turning the handle
One of the most apparent signs of a broken shower handle is the difficulty in turning it. If you find yourself straining to adjust the water temperature or struggling to turn the handle on and off smoothly, it’s likely that there’s an underlying issue. This can be caused by worn-out internal components or improper alignment, which hampers the handle’s functionality.
Loose or wobbly handle
A loose or wobbly shower handle is not only frustrating but also a potential hazard. If you notice excessive play or movement in the handle, it’s a clear indication that something is amiss. Loose screws or connections can cause the handle to become unstable, compromising your ability to control the water flow effectively. Ignoring this issue can lead to further damage, so it’s crucial to address it promptly.
Water leakage from the handle area
Water leakage from the handle area is a red flag that should not be ignored. If you notice water seeping out around the handle when the shower is in use, it indicates a faulty seal or damaged internal parts. Not only does this waste water, but it can also cause water damage to your bathroom walls and flooring if left unattended. Resolving the leakage issue is vital to prevent further complications and maintain a dry and functional shower area.
By recognizing these signs, you can take proactive measures to address a broken shower handle before it escalates into a more significant problem. In the next section, we’ll explore possible DIY solutions that can help you regain control of your shower handle. Stay tuned to discover how you can tackle these issues yourself and save both time and money.
Next up: Possible DIY solutions for fixing a broken shower handle.
Possible DIY Solutions for Fixing a Broken Shower Handle
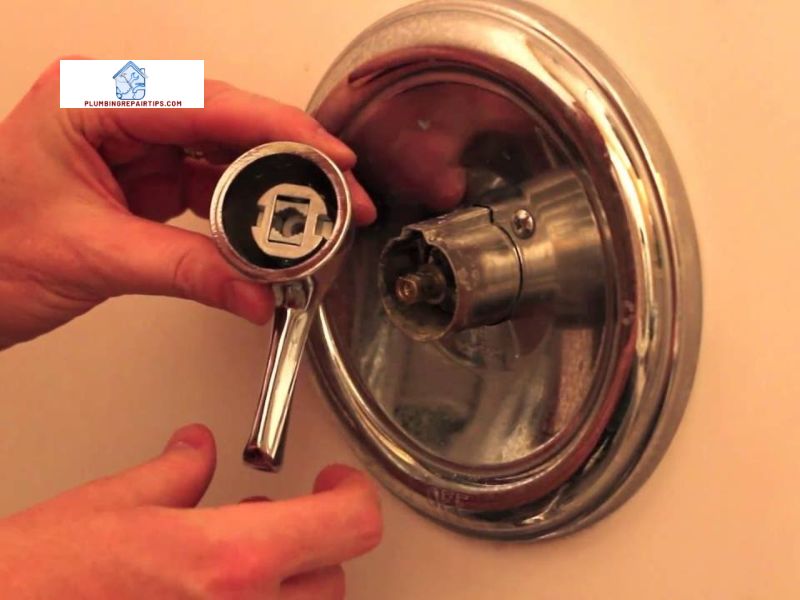
Assessing the Problem: Identify the Specific Issue
Before diving into any repairs, it’s essential to assess the problem and identify the specific issue causing the broken shower handle. Is it a loose handle? A worn-out part? Or perhaps an alignment problem? By pinpointing the root cause, you can take targeted steps towards resolving the issue effectively.
Tightening Loose Screws or Connections
Sometimes, a loose shower handle can be easily fixed by tightening the screws or connections that hold it in place. Grab a screwdriver or wrench and carefully tighten any loose screws or connections you find. This simple yet often overlooked step can restore stability to your handle and prevent further damage.
Replacing Worn-Out or Damaged Parts
If you notice that the handle itself or any internal parts are worn-out or damaged, it’s time for a replacement. Start by removing the old handle and inspecting its components. Identify the specific part causing the issue and head to your local hardware store to find a suitable replacement. Follow the manufacturer’s instructions to install the new part securely.
Lubricating the Handle Mechanism
Over time, the handle mechanism may become stiff or difficult to operate due to lack of lubrication. Applying a silicone-based grease or lubricant can help restore smooth movement and prevent future wear and tear. Apply the lubricant to the handle’s moving parts, ensuring you cover all necessary areas. Remember to wipe off any excess lubricant to avoid attracting dirt or debris.
Adjusting the Handle Alignment
In some cases, a broken shower handle may be the result of misalignment. If you notice that the handle doesn’t sit correctly or struggles to turn smoothly, adjusting its alignment might be the solution. Carefully loosen the screws or connections holding the handle and make minor adjustments until the handle sits correctly and operates smoothly. Once aligned, tighten the screws or connections securely.
By following these DIY solutions, you can potentially fix your broken shower handle and restore its functionality without the need for professional assistance. However, if the problem persists or appears to be more complex, it’s important to know when it’s time to call in a professional plumber. In the next section, we’ll explore the situations that may require expert help.
Tools Required for Fixing a Broken Shower Handle
When it comes to fixing a broken shower handle, having the right tools at your disposal is essential. With the following tools, you’ll be well-equipped to tackle any handle-related issues that come your way.
A. Screwdrivers (Phillips and flathead)
Screwdrivers are a must-have for any DIY repair project, and fixing a broken shower handle is no exception. Opt for both a Phillips and a flathead screwdriver to accommodate different types of screws commonly found in shower handles. These tools will enable you to remove and tighten screws, facilitating the disassembly and reassembly of your handle.
B. Wrench or pliers
A wrench or a pair of pliers will come in handy when dealing with stubborn nuts and bolts. Depending on the design of your shower handle, you may encounter these fasteners during the repair process. A wrench or pliers will provide the necessary leverage to grip and turn them, ensuring a secure and stable handle installation.
C. Replacement parts (if necessary)
In some cases, a broken shower handle may require the replacement of certain components. It’s always a good idea to have spare parts readily available, such as handle knobs, cartridges, or valves. These replacement parts can easily be sourced from your local hardware store or plumbing supplier. Remember to consult the manufacturer’s instructions or seek professional advice if you’re unsure about which specific parts you need.
D. Lubricant (e.g., silicone-based grease)
To ensure smooth and effortless operation of your shower handle, using a suitable lubricant is crucial. A silicone-based grease is ideal for lubricating the handle mechanism, reducing friction, and preventing unnecessary wear and tear. Apply a small amount of lubricant to the moving parts of the handle, such as the stem or cartridge, to optimize its performance and extend its lifespan.
By having these tools on hand, you’ll be well-prepared to fix your broken shower handle efficiently and effectively. Remember, using the right tools not only simplifies the repair process but also ensures the longevity and functionality of your handle.
Stay tuned for the next section, where we’ll discuss situations that may require the expertise of a professional plumber.
Conclusion
In conclusion, a broken shower handle can be a frustrating inconvenience, but with the right knowledge and approach, you can successfully fix it and restore your enjoyable showering experience. Throughout this guide, we’ve explored the various aspects of dealing with a broken shower handle, from understanding the causes to identifying the signs and exploring potential solutions.
Remember, it’s crucial to address a broken shower handle promptly to avoid further damage, water wastage, and potential safety hazards. While some minor issues can be resolved through DIY solutions, there are instances where it’s best to call a professional plumber.
If the damage is complex or extensive, it’s wise to seek the expertise of a professional to ensure the problem is properly diagnosed and fixed. Additionally, if you lack DIY experience or confidence in handling plumbing repairs, it’s better to leave it to the experts to avoid exacerbating the issue.
Safety concerns should also prompt you to call a professional. If your broken shower handle involves electrical components or poses any potential risks, it’s crucial to prioritize your safety and seek professional assistance.
Furthermore, if your shower handle is covered under warranty or insurance, contacting a professional plumber can help you navigate the process and ensure you receive the necessary repairs or replacements.
By taking care of your shower handle and addressing any issues promptly, you can prevent future breakages and extend its lifespan. Regular maintenance, such as inspecting and cleaning the handle, avoiding excessive force, and considering handle upgrades for improved durability, can go a long way in preserving your shower’s functionality.
Remember, your shower should provide a relaxing and rejuvenating experience, not a source of frustration. By following the steps outlined in this guide and knowing when to seek professional help, you can regain control over your showering routine.
For more helpful plumbing tips and tricks, visit plumbingrepairtips.com. Our team of experts is dedicated to providing valuable advice and guidance to help you tackle any plumbing issues you may encounter.
So, don’t let a broken shower handle dampen your spirits. Take charge, and let’s restore your shower to its full glory!
