Introduction
Can you imagine the chaos that could arise from a burst pipe or a leaky faucet? Plumbing issues can quickly turn into a nightmare, causing extensive damage to your property and draining your wallet. That’s why it’s crucial to ensure the strength and integrity of your plumbing system through regular maintenance and inspections. One vital aspect of this maintenance routine is the plumbing pressure test.
In this article, plumbingrepairtips.com will walk you through the importance of plumbing pressure tests and provide an overview of the testing process. By understanding the significance of these tests and how they work, you’ll be better equipped to safeguard your home from potential plumbing disasters.
Why are Plumbing Pressure Tests Important?
You may be wondering, why bother with a plumbing pressure test? Well, think of it as an insurance policy for your plumbing system. Pressure tests help identify any weaknesses, leaks, or potential issues that may be lurking beneath the surface. By detecting these problems early on, you can address them promptly, preventing them from escalating into costly repairs down the line.
Overview of the Plumbing Pressure Testing Process
Now that we understand the importance of plumbing pressure tests, let’s delve into the testing process itself. During a pressure test, a controlled amount of air or water is introduced into the plumbing system to gauge its strength and capacity to withstand pressure. This test evaluates the overall integrity of the pipes, joints, and fixtures, ensuring they can withstand the demands of everyday use.
Stay tuned as we explore the various types of pressure tests commonly used in plumbing systems and learn how to prepare for and conduct a plumbing pressure test. By the end of this article, you’ll be armed with the knowledge needed to safeguard your plumbing system and prevent potential disasters. So, let’s dive in and ensure the strength of your plumbing system together!
Understanding Plumbing Pressure Tests
Definition of Plumbing Pressure Test
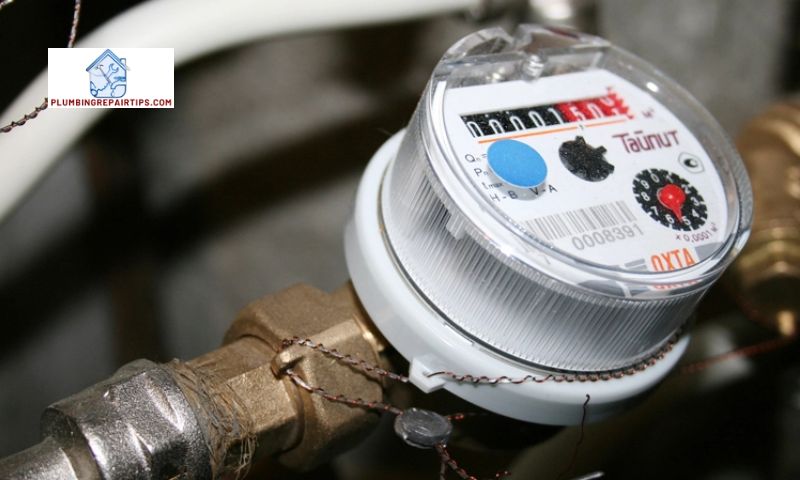
Before we dive deeper into the world of plumbing pressure tests, let’s start with a clear definition. A plumbing pressure test involves subjecting your plumbing system to controlled pressure, either through the use of air or water, to evaluate its strength, durability, and potential vulnerabilities. This test allows you to identify any leaks, weak points, or potential issues within your plumbing system.
Purpose and Benefits of Conducting Pressure Tests
Now that we understand what a plumbing pressure test entails, let’s explore why it is crucial for your home’s plumbing system. The primary purpose of conducting pressure tests is to ensure that your plumbing system can handle the demands of everyday use without any hiccups. By subjecting your pipes, joints, and fixtures to controlled pressure, you can identify any weaknesses or vulnerabilities before they turn into major problems.
The benefits of conducting pressure tests are numerous. Firstly, it allows you to proactively address any potential issues, preventing costly repairs or water damage in the future. Additionally, pressure tests help you identify and fix leaks, ensuring water conservation and reducing utility bills. Lastly, these tests provide peace of mind, knowing that your plumbing system is in optimal condition and ready to handle anything life throws at it.
Types of Pressure Tests in Plumbing Systems
There are various types of pressure tests commonly used in plumbing systems. The most common ones include the water pressure test, air pressure test, and hydrostatic pressure test.
- Water Pressure Test: This test involves increasing the water pressure within the plumbing system and observing for any drops or fluctuations. It helps identify leaks or weak points in the system.
- Air Pressure Test: In this test, air is introduced into the plumbing system, and the pressure is monitored for any drops or changes. It is often used in new construction or during renovations to check for leaks before water is introduced.
- Hydrostatic Pressure Test: This test involves filling the plumbing system with water and pressurizing it to check for leaks or weaknesses. It is commonly used in underground or buried pipes to ensure their integrity.
Understanding these different types of pressure tests will enable you to choose the appropriate method based on your specific needs. So, let’s move on to the next section and discover how to prepare for a plumbing pressure test.
Preparing for a Plumbing Pressure Test
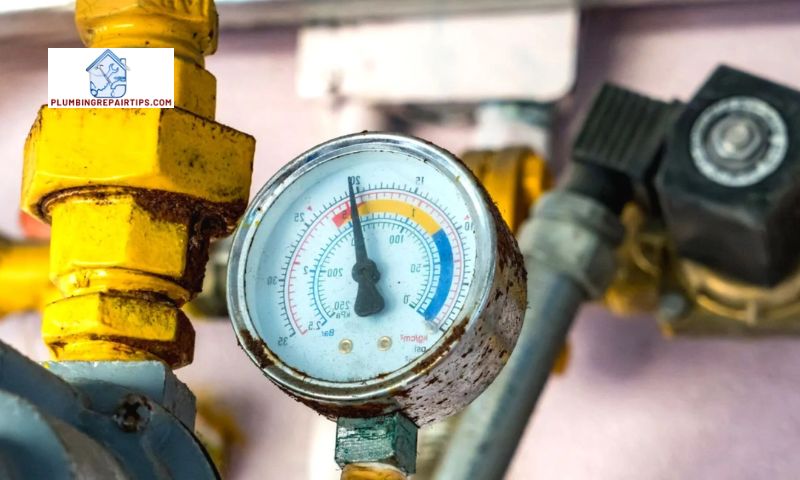
Gathering Necessary Tools and Equipment
Before diving into a plumbing pressure test, it’s essential to ensure you have the right tools and equipment at hand. Here are some items you’ll need:
- Pressure Gauge: This device measures the pressure within your plumbing system and helps you determine if it falls within acceptable limits.
- Testing Plugs: These plugs are used to seal off specific sections of your plumbing system, allowing you to isolate different areas during the pressure test.
- Teflon Tape: This handy tape helps create a watertight seal when connecting the pressure gauge or testing plugs to your plumbing system.
- Safety Gloves and Goggles: Plumbing pressure tests involve working with pressurized water or air, so it’s crucial to protect yourself by wearing gloves and goggles to prevent any accidents.
Ensuring Safety Precautions
Safety should always be a top priority when conducting any plumbing work, including pressure tests. Here are some precautions to keep in mind:
- Shut off the Water Supply: Before starting the pressure test, make sure to shut off the main water supply to your property. This prevents any unintended water flow during the test and helps maintain accurate results.
- Relieve System Pressure: Open faucets and fixtures throughout your plumbing system to relieve any existing pressure. This step ensures a more accurate pressure test by eliminating any residual pressure within the pipes.
- Follow Manufacturer’s Instructions: Different plumbing systems may have specific guidelines for conducting pressure tests. Refer to the manufacturer’s instructions or consult with a professional if you’re unsure about any aspect of the process.
Properly Shutting off the Water Supply
To avoid any mishaps or water damage during the pressure test, it’s crucial to properly shut off the water supply. Here’s how to do it:
- Locate the Main Water Shut-Off Valve: Typically, the main shut-off valve is located near your water meter or where the water line enters your home. Familiarize yourself with its location before starting the pressure test.
- Turn Off the Valve: Using a wrench or your hand, turn the valve clockwise until it is fully closed. This will stop the flow of water into your plumbing system.
By following these preparation steps and taking necessary safety precautions, you’ll be ready to proceed with confidence to the next stage of the plumbing pressure test. In the upcoming section, we’ll explore the step-by-step process of conducting a plumbing pressure test. So, let’s continue our journey towards plumbing perfection!
Troubleshooting Plumbing Pressure Test Failures
When conducting a plumbing pressure test, it’s not uncommon to encounter failures or issues that may compromise the integrity of your plumbing system. In this section, we’ll explore common reasons for pressure test failures, learn how to identify and fix leaks or pressure drops, and understand the importance of retesting after repairs.
Common Reasons for Pressure Test Failures
Pressure test failures can occur due to various reasons, and identifying the cause is crucial for effective troubleshooting. Some common culprits include:
- Leaky Connections: Improperly sealed or loose connections can lead to leaks, causing pressure drops during the test.
- Damaged Pipes: Cracked, corroded, or damaged pipes can result in leaks or weakened areas that cannot withstand the pressure.
- Faulty Valves or Fixtures: Malfunctioning valves or fixtures may not hold the pressure properly, leading to test failures.
- Improper Testing Procedures: Inaccurate testing methods or errors in the testing process, such as incorrect pressure levels or inadequate testing duration, can yield false results.
Identifying and Fixing Leaks or Pressure Drops
To troubleshoot pressure test failures, it’s essential to identify and address any leaks or pressure drops. Here’s how you can effectively tackle these issues:
- Inspect Connections and Joints: Carefully examine all connections and joints for signs of leakage. Tighten loose connections, replace faulty seals, or repair damaged pipes to eliminate leaks.
- Check Valves and Fixtures: Test valves and fixtures individually to identify any malfunctions. Replace faulty components to ensure they can withstand the pressure.
- Perform Visual Inspections: Conduct a visual inspection of the plumbing system, looking for signs of water stains, dampness, or visible leaks. These visual cues can help pinpoint the source of the issue.
- Utilize Leak Detection Techniques: If leaks are not immediately visible, employ leak detection methods such as pressure decay tests, dye tests, or thermal imaging to locate hidden leaks.
Importance of Retesting after Repairs
Once you’ve addressed the issues identified during troubleshooting, it’s crucial to retest your plumbing system to ensure the effectiveness of the repairs. Retesting provides peace of mind and verifies that the system now meets the required pressure standards. This step is vital in preventing future failures and potential damage to your property.
By understanding the common reasons for pressure test failures, knowing how to identify and fix leaks or pressure drops, and recognizing the importance of retesting after repairs, you can effectively troubleshoot any issues that arise during the pressure testing process. So, let’s keep moving forward and ensure the strength and reliability of your plumbing system!
Conclusion
In conclusion, conducting regular plumbing pressure tests is an essential part of maintaining a healthy and functional plumbing system. By subjecting your pipes, joints, and fixtures to controlled pressure, you can identify and address any weaknesses or potential issues before they escalate into costly repairs or damages.
Throughout this article, we’ve explored the importance of plumbing pressure tests and provided an overview of the testing process. We’ve discussed the significance of preparing for a pressure test and highlighted common methods and techniques used during the test. Additionally, we’ve emphasized the importance of interpreting test results to identify potential issues and troubleshoot any failures.
Remember, a plumbing pressure test is not a one-time event. It should be performed regularly, especially when undertaking plumbing repairs or renovations. By adopting a proactive approach and incorporating pressure tests into your maintenance routine, you can ensure the longevity and reliability of your plumbing system.
At plumbingrepairtips.com, we prioritize your plumbing’s health and functionality. Our team of experts is dedicated to providing you with the knowledge, tools, and resources needed to maintain a robust plumbing system. So, take the initiative and schedule a plumbing pressure test today to safeguard your home from potential disasters.
Thank you for joining me on this journey to understand the importance of plumbing pressure tests. Together, let’s keep your plumbing system strong, efficient, and leak-free!
Note: plumbingrepairtips.com
