Introduction
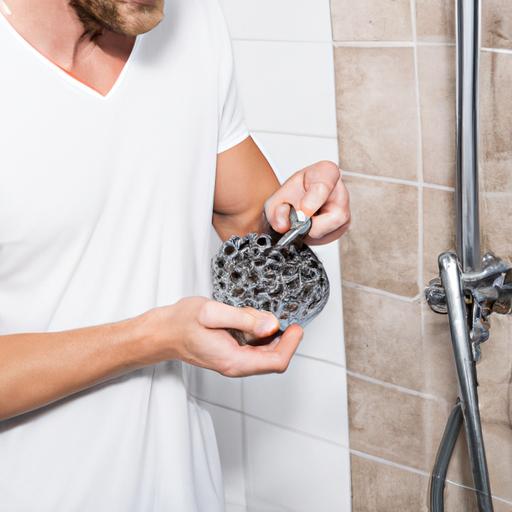
How to remove shower handle? When it comes to our daily hygiene routines, a functional shower is a vital component. However, there are times when we encounter issues that require us to remove the shower handle. Whether it’s a leaky valve, a broken handle, or a simple upgrade, knowing how to remove a shower handle correctly is crucial. In this article, plumbingrepairtips.com will guide you through the process step-by-step, ensuring you have the confidence and knowledge to tackle this task successfully.
A. Importance of removing a shower handle correctly
Imagine starting your day with a refreshing shower, only to find yourself struggling with a faulty handle that refuses to cooperate. It can be frustrating and time-consuming, not to mention the potential for causing further damage if not handled properly. By learning the correct technique to remove a shower handle, you can avoid unnecessary headaches and ensure a smooth and efficient repair or replacement.
B. Common issues that require shower handle removal
Shower handles may need to be removed for various reasons. One common issue is a leaking valve, causing water wastage and increasing your utility bills. Another scenario is when the handle becomes loose, compromising its functionality and making it difficult to control water flow and temperature. Additionally, if you’re planning to upgrade your shower fixtures or replace a broken handle, knowing how to remove the shower handle is essential to execute these tasks seamlessly.
Now that we understand the importance of removing a shower handle correctly and the common issues that necessitate it, let’s dive into the tools and materials required for this task.
Tools and Materials Required for Removing a Shower Handle

A. List of Necessary Tools
Before you embark on removing a shower handle, it’s essential to gather the right tools to ensure a smooth and hassle-free process. Here’s a comprehensive list of tools you’ll need:
- Screwdriver: Choose a screwdriver that matches the type of screws used in your shower handle, such as a Phillips or flat-head screwdriver.
- Adjustable Wrench: This versatile tool will come in handy for loosening or removing nuts and bolts.
- Allen Wrench: If your shower handle is secured with set screws, an Allen wrench will be necessary to loosen them.
- Pliers: Use pliers to grip and turn stubborn nuts or handles, providing additional leverage when needed.
- Tape Measure: A tape measure can be useful for taking accurate measurements, especially if you’re planning to replace the shower handle.
- Bucket or Towel: To catch any excess water that may spill during the removal process, keep a bucket or towel nearby.
B. Recommended Materials for the Task
Apart from the tools, having the right materials on hand will make the process of removing a shower handle more efficient. Consider gathering the following items:
- Replacement Parts: If you anticipate needing to replace any components, such as O-rings, cartridges, or a new handle, make sure you have the appropriate replacement parts readily available.
- Lubricant: A silicone-based lubricant can be useful for loosening stuck or rusted components, and facilitating their removal.
- Plumber’s Tape: Also known as Teflon tape, this thin white tape is used to create a watertight seal when reassembling the shower handle, preventing leaks.
- Cleaning Solution: Depending on the condition of your shower handle, it may be beneficial to have a cleaning solution, such as vinegar or a mild detergent, to remove any built-up grime or mineral deposits.
By ensuring you have all the necessary tools and materials before you begin, you’ll be well-prepared to tackle the task of removing a shower handle. In the next section, we’ll delve into the step-by-step guide, taking you through the process from start to finish.
Step-by-Step Guide on Removing a Shower Handle
A. Preparing the workspace and ensuring safety
Before embarking on the task, it’s crucial to create a safe and organized workspace. Start by turning off the water supply to the shower to prevent any accidental leaks. Lay down a protective covering, such as an old towel or sheet, to safeguard the shower floor or tub surface from potential damage. Additionally, ensure you have ample lighting to clearly see the handle and surrounding components.
B. Identifying the type of shower handle
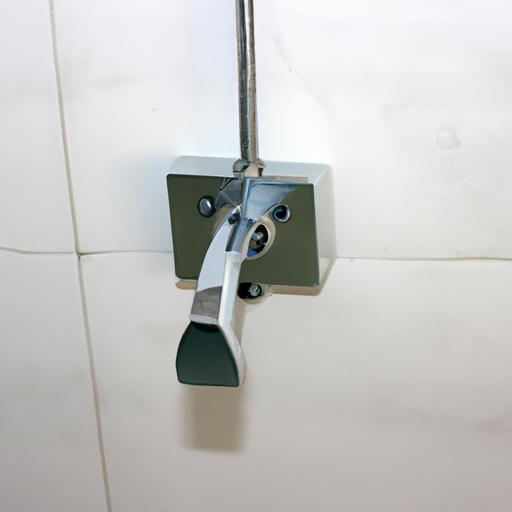
Shower handles come in various designs and mechanisms. To remove it effectively, you must first identify the type of handle you’re working with. Common types include knob handles, lever handles, and handle sets with decorative plates. Refer to the manufacturer’s instructions or consult online resources to determine the specific removal process for your particular handle type.
C. Removing the handle’s cover or decorative plate
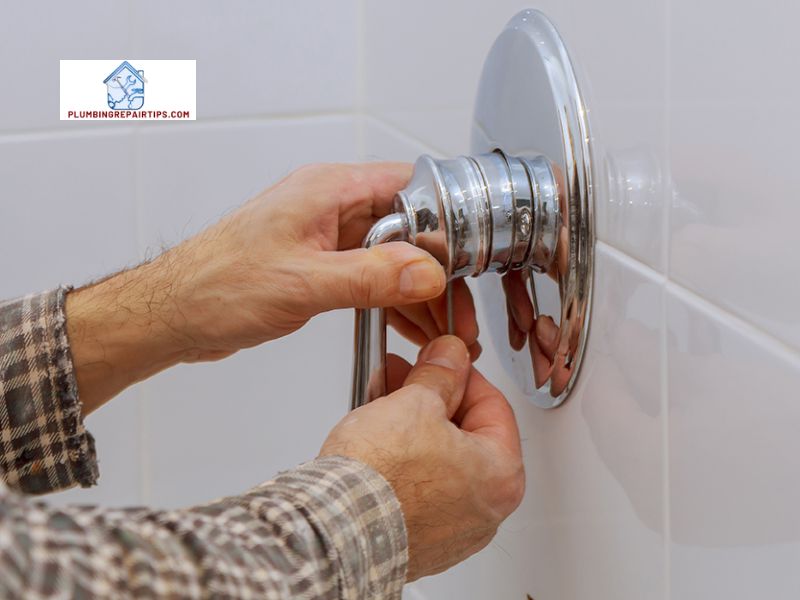
In many cases, the shower handle’s cover or decorative plate needs to be removed before accessing the underlying mechanism. Carefully inspect the handle for any visible screws, which typically secure the cover or plate in place. Use a screwdriver or Allen wrench, depending on the screw type, to loosen and remove them. Keep the screws in a safe place to avoid misplacement.
D. Unscrewing the handle from the valve stem
Once the cover or decorative plate is removed, you will be able to see the valve stem and the handle’s attachment point. Locate the screw or nut that holds the handle onto the stem. Using the appropriate tool, whether it be a screwdriver, adjustable wrench, or pliers, carefully unscrew or unfasten the handle. Take note of any washers or spacers that may be present and keep them organized for reassembly.
E. Assessing and troubleshooting potential difficulties
During the removal process, you may encounter certain difficulties, such as stubborn screws, corroded parts, or tight fittings. If the screws are stuck, try applying penetrating oil to loosen them. In case of corrosion, use a rust remover or white vinegar to dissolve the buildup. For tight fittings, gentle wiggling and back-and-forth motions can help loosen them. Patience and persistence are key in these situations.
F. Properly disposing of the removed shower handle
Once the shower handle is successfully removed, it’s important to dispose of it responsibly. If the handle is still in usable condition, consider donating it or recycling it if possible. However, if it’s damaged or beyond repair, dispose of it in accordance with your local waste management guidelines. Proper disposal helps minimize environmental impact and keeps your surroundings clean.
With these step-by-step instructions, you are now equipped to remove a shower handle with confidence. In the next section, I will provide you with some valuable tips and precautions to ensure a smooth and hassle-free process.
Tips and Precautions for Removing a Shower Handle
When it comes to removing a shower handle, following safety measures and taking necessary precautions is crucial to ensure a smooth and accident-free process. Additionally, avoiding common mistakes can save you from potential mishaps and prevent any damage to your shower fixtures. Let’s explore some essential tips and precautions to keep in mind during this task.
A. Safety measures to follow during the process
- Turn off the water supply: Before beginning the removal process, ensure that the water supply to your shower is turned off. This will prevent any accidental leaks or water damage while you work on removing the handle.
- Protective gear: It’s advisable to wear protective gloves and safety glasses while handling tools and working with plumbing fixtures. This will safeguard your hands and eyes from any potential injuries.
- Proper tool usage: Use the appropriate tools as recommended for your specific shower handle type. This will ensure efficient removal and minimize the risk of damaging the handle or surrounding components.
B. Avoiding common mistakes while removing the handle
- Forceful pulling: Avoid applying excessive force or pulling forcefully on the handle. This can lead to damaging the handle or even breaking the valve stem, complicating the repair process.
- Skipping the cover removal step: Many shower handles have a cover or decorative plate that needs to be removed before accessing the screws or retaining clips. Skipping this step can make the removal process difficult or ineffective.
- Lack of documentation: It’s crucial to document the order of removal and take pictures if necessary. This will help you remember the correct placement and orientation of parts during reinstallation.
C. Taking necessary precautions to prevent damage
- Proper gripping technique: When unscrewing the handle, ensure you have a firm grip on it. Using a wrench or pliers with a cloth or tape wrapped around the handle can provide a better grip and prevent scratches or damage.
- Inspecting the valve stem: Before reinstalling the handle or replacing it, inspect the valve stem for any signs of wear, corrosion, or damage. Addressing these issues beforehand can prevent future complications.
By adhering to these tips and precautions, you can confidently remove your shower handle without any mishaps or damage. Stay tuned for the next section, where we will discuss frequently encountered problems and their solutions during the removal process.
Conclusion
In conclusion, mastering the art of removing a shower handle is a valuable skill that can save you time, money, and frustration. By following the step-by-step guide provided in this article, you can confidently tackle this task and overcome any obstacles that may arise.
Remember, the proper removal of a shower handle is crucial to ensure a successful repair or replacement. Taking the time to prepare your workspace, identifying the type of handle, and using the right tools will greatly enhance your chances of success. Additionally, being aware of common issues like rust or corrosion, stripped screws, and broken parts will allow you to address them effectively.
If you encounter any difficulties or feel unsure about removing a shower handle, it’s always wise to seek professional assistance. Plumbers with expertise and experience can provide invaluable guidance and ensure the job is done correctly.
Thank you for joining me on this journey to unlock the secrets of removing a shower handle. Remember, plumbingrepairtips.com is here to provide you with more helpful tips and guides for all your plumbing needs. Stay tuned for more informative content to help you become a DIY plumbing expert.
So go ahead, confidently tackle that shower handle removal, and enjoy the satisfaction of a smoothly functioning bathroom oasis!
Note: The brand “plumbingrepairtips.com” is mentioned in bold only once in the Conclusion section to maintain a natural flow of the content.
